

Blogging with WordPress is the last chapter of our how to start a blog tutorial.
But, this is only the beginning of your blogging career.
Now that you know a little about SEO.
Got your passion lit.
Your creative juices got flowing to name your blog.
And, you scored a free domain from Bluehost.
Now it’s time for your blogging with WordPress tutorial.
How to blog with WordPress
Before you can start blogging your life away, you need to install WordPress.
Installing WordPress can be daunting.
Luckily, you chose Bluehost for your blogging needs.
Bluehost makes blogging life easier.
Step 1. Sign in to Bluehost
Your next step is to install WordPress on your website.
After signing up with Bluehost, they would have sent you a confirmation email.
Go to your email and follow the instructions to log into your Bluehost account.
Step 2. Install WordPress
You should have your free domain from Bluehost and have signed in to your dashboard.
If this is your first time signing into Bluehost, a pop-up wizard will ask you to install WordPress. Go ahead and install WordPress.
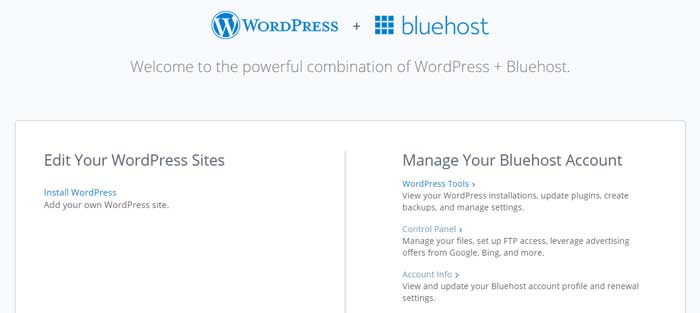
However, if you don’t see the wizard for any reason, it’s simple to install WordPress.
All you have to do is go to the “My Sites” tab and click on the “Create Site” button to install WordPress, which is just a simple 1-click install process.
After installing WordPress on your site, you can go ahead and create your username and password.
What you create now is what you’ll be using quite often in the future. Make sure it’s secure and hard to guess. Online hackers are always looking for ways to make money, don’t make it easy for them.
You can access your WordPress blog anywhere on the internet by going to “yourdomainname.com/wp-admin.”
Bookmark this page, make it your startup page, because you’ll be visiting it very often.
Step 3. Personalize your blog
Once you installed WordPress, created your login credentials, and set up WordPress, it’s time for the fun part—making your blog you.
And to make your blog look a little more like you is by changing its theme. Well, you can plaster your face all over the place as I did.
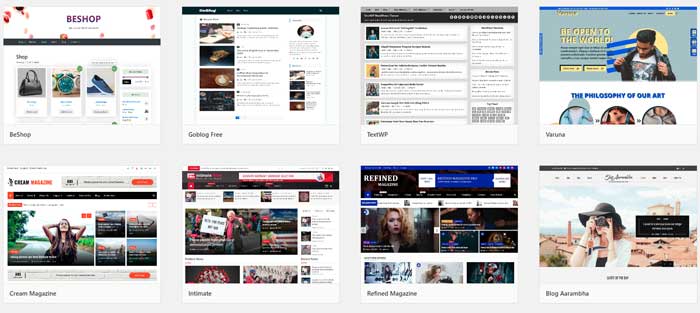
WordPress included many themes for you to use. You can go overboard, eccentric, or stay minimal; the possibilities are endless.
There are themes for travelers, foodies, cooks, bloggers, techies, adventurers, you name it. And the best thing, they are free.
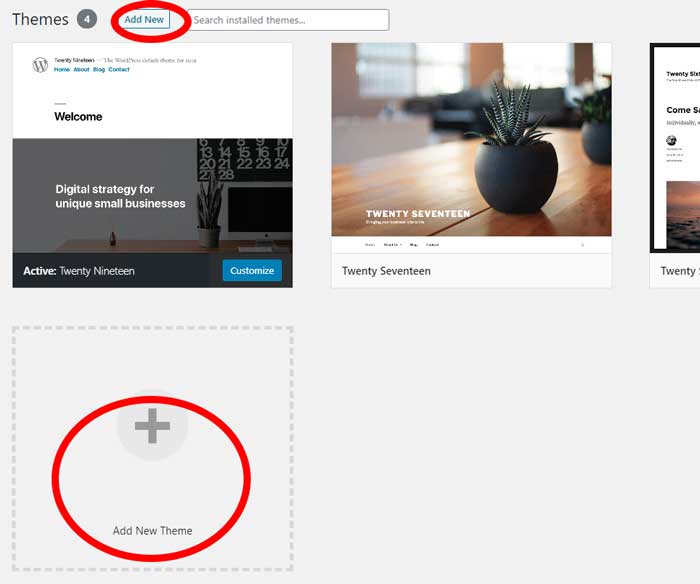
When you are ready to shape your blog, on your main dashboard, hover on “appearance.” Another menu will pop open, and “themes” will show. Click on “themes.” Or just click on appearance, and it will take you to the default start, which is in the themes board. This board shows the themes you have downloaded.
To explore new themes to use for your blog, click on the “add new” button, and you should be taken to themes that are available to be installed for your blog.
You can preview each theme by clicking on “details and preview.”

Or, if you have an existing blog and see how it would look with your current content and settings, hit the “install” button, just next to the preview button. Wait for the theme to be installed…
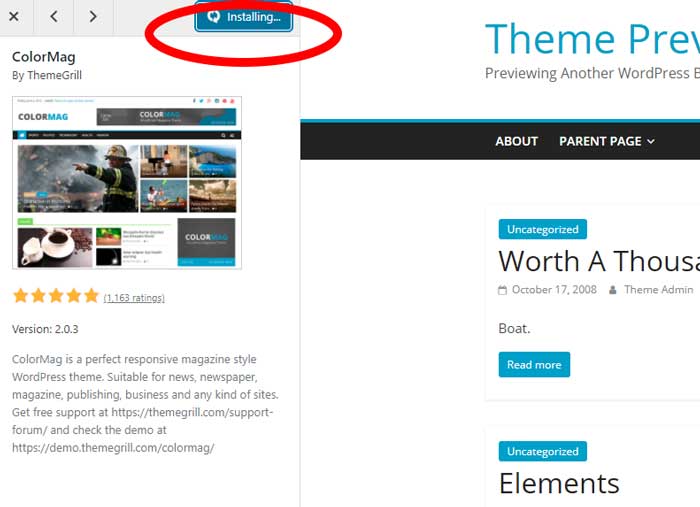
Once the theme has finished installing, the “preview” button should change to “live preview.”
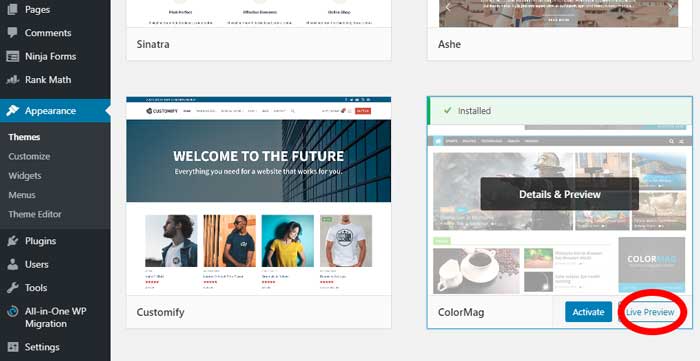
Click on that, and you should see your current blog change its format and appearance. That’s just a preview. If you are happy with the change, click on “activate.”
Step 4. Basic WordPress editing
Titles?
Heading?
Images?
Gutenberg?
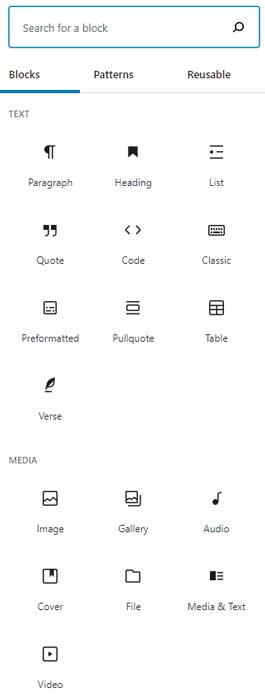
The new WordPress editor, Gutenberg, introduced the blocks you see in the editor.
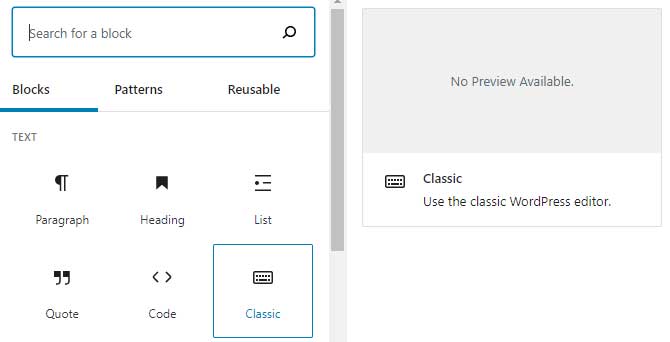
If this is your first time using WordPress, you’ll see an option to use the classic editor.
Gutenberg blocks
Before Gutenberg, WordPress was using the classic editor who didn’t include blocks. The classic was favored by many, and Gutenberg was met with antsy pants. But change was definitely coming.
And, still to this day, Gutenberg is getting negative reviews.
[source: WordPress Gutenberg reviews]
There are other website builders on the market, but most of them bogs your website, slowing it down.
I like how Gutenberg has what it takes to create an appealing blog without website builders.
Gutenberg is native to WordPress. That means, less plugin to slow down your website. And according to almost everyone in Google, a fast website is a good website.
You do have an option to keep using the classic editor. Just type in classic in “search for a block.”
Titles
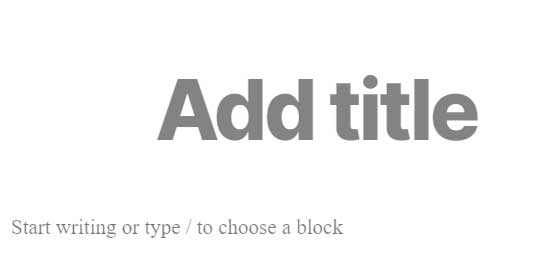
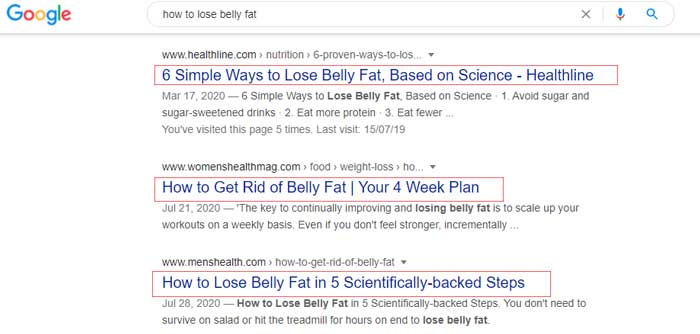
A title is what your article is about. Make sure you write a compelling title for someone browsing the search engine results page to click on your article instead of others.
Headings
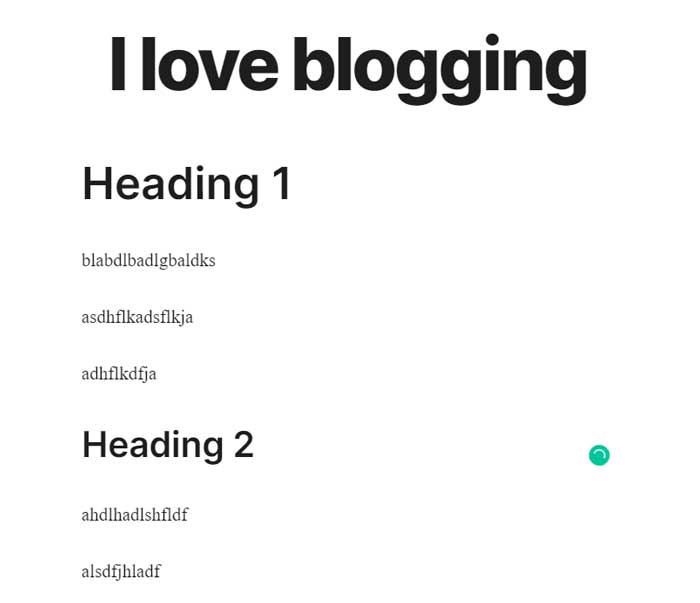
Headings help separate paragraphs to make the article easier to read. It should describe what the next paragraph is about.
Images
Images can make an article pretty and vice versa. Although images can help convey the message further, adding too much could look messy.
Images can help with SEO by adding relevant keywords in the alt text section of the image.
Also, some people learn visually, and images can help your users understand clearly what you are trying to say.

When you need more guidance about WordPress’ functionality. You can click on the following link: WordPress quickstart guide
Step 5. Start blogging
In your WordPress dashboard, you should see posts and pages on the left of your screen.

Here’s a little more about posts and pages if you’re confused between the two or unsure which one to use.
What is a Post?
A post has a date and is sorted from the newest to the oldest. When you publish a new blog, the new blog will appear on top of the previous blog. Think of a journal, a diary.
What is a page?
A page is fixed or evergreen. Think more like the About and Contact pages.
Now that you know the difference between the two. Hover your mouse onto a post or page, and another menu should open up, click on “add new.”
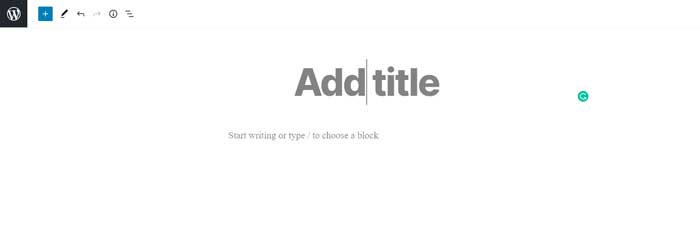
You will be taken to the add new post/page screen.
Blog away!
Conclusion
And that is it! This blogging with WordPress tutorial is the last part of our how to start a blog series. You should be well on your way to quitting your nine to five with blogging.
Making a living by blogging on WordPress is challenging, even more so with a billion blogs on the internet.
How do you stand out from the sea of blogs that are trying to do what you’re doing? You can start by joining our 5-day blogging course.
Step by step guide to blogging:

As a dedicated SEO professional, I help businesses improve their online visibility and attract more customers through search engine optimization. Whether you’re a small local business or a large corporation, I can help improve your search rankings, drive more traffic to your website, and ultimately grow your business.
Christian Tanobey